Want to better organize Dock on your Mac? Note this instruction, where we’ll talk about how to add special dividers to the panel with a couple of simple console commands.
Step 1. Run Terminal
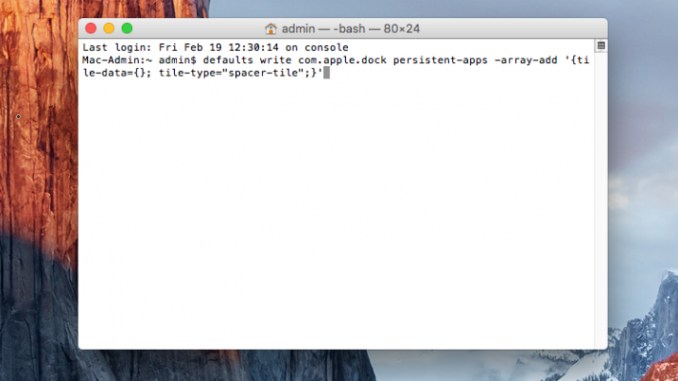
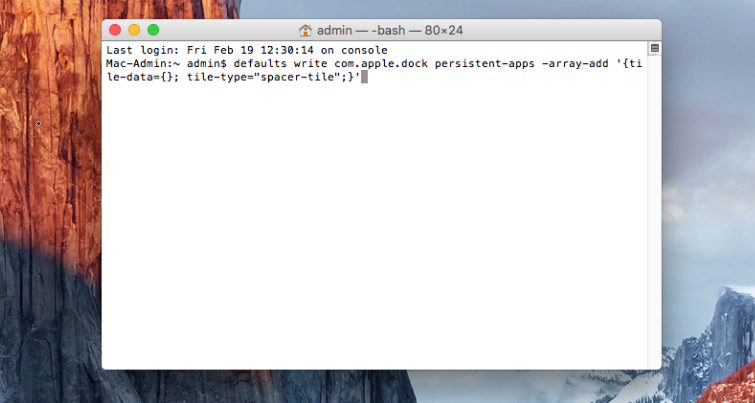
 Step 2. Enter the command below and click Return
Step 3. After you enter another command and press again Return
Immediately after that, Dock will disappear for a moment, and when the panel appears, it will be an empty space, which will simultaneously be a divider. This divider can be dragged to any panel position, thereby separating the various applications from each other.
You can add such dividers to Dock as much as you want. In order to insert multiple dividers at once, repeat the second step of the above instructions as many times as you need, and then be sure to perform the third, final step. Note that you can remove the divider from Dock as well as regular app icons – simply by dragging the space from the panel to the desktop.
See also:
Put 5 stars at the bottom of the article if you like the topic. How to add dividers to Dock on your Mac

Leave a Reply