
In previous instructions, we talked about howMake a regular screenshoton Mac, how to take a screenshotWithout using a keyboardand how to get rid ofshadow effecthave a screenshot. Today, we want to touch on one interesting feature of the staff tool for creating screenshots OS X, allowing you to take screenshots with a delay.
Being able to create a screenshot with a time delay on your Mac can be extremely useful in a large number of cases. For example, if you want to capture hidden menu line items on a screenshot that only appear when the Option key is closed. The usual combinations of keys in this case will not work and almost the only way to take a screenshot will be to set a timer to create a picture screen. Setting such a timer is very simple.
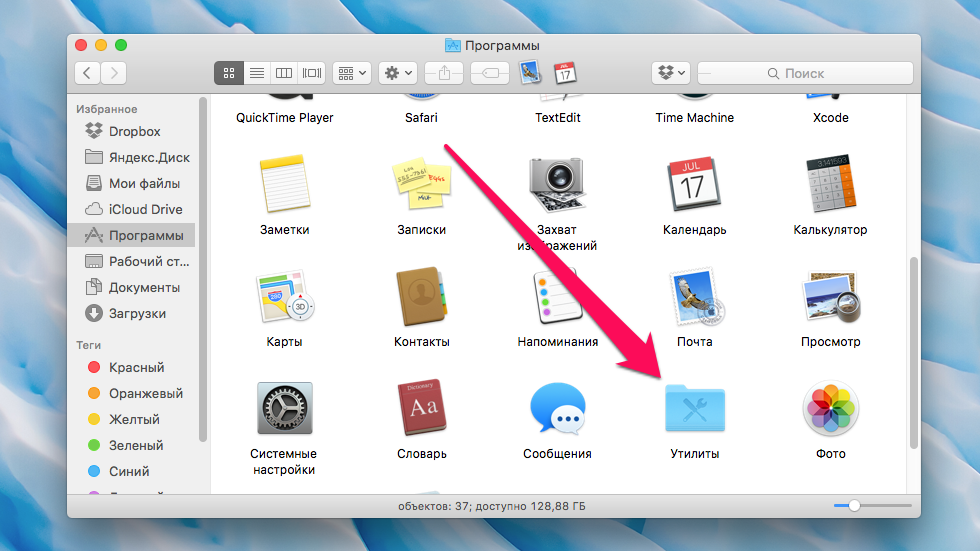
Step 1. Go to the folder Program » → « Utilities »
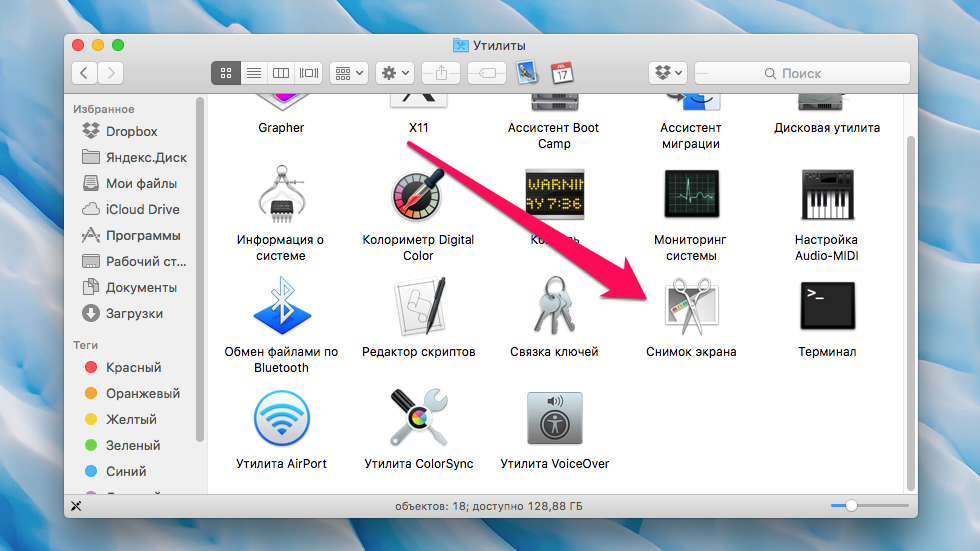
 Step 2. Start the app Screenshot »
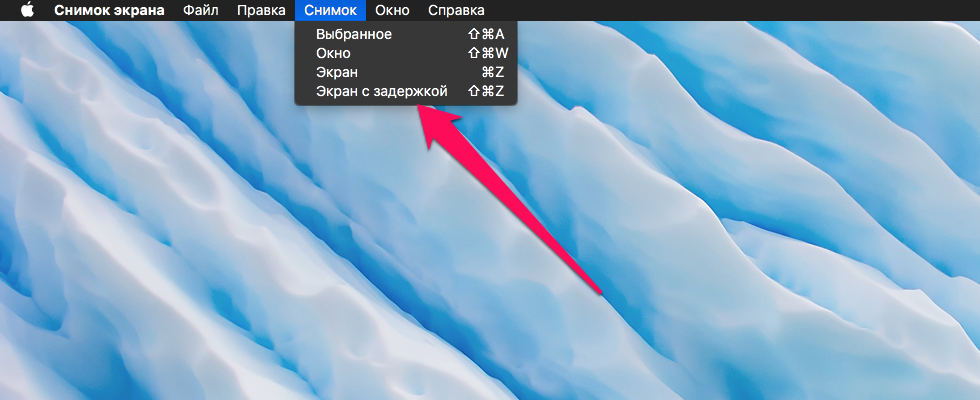
 Step 3. In the menu line, select the item Picture » → « Delayed screen »
 Step 4. In the open window, click Start the timer »
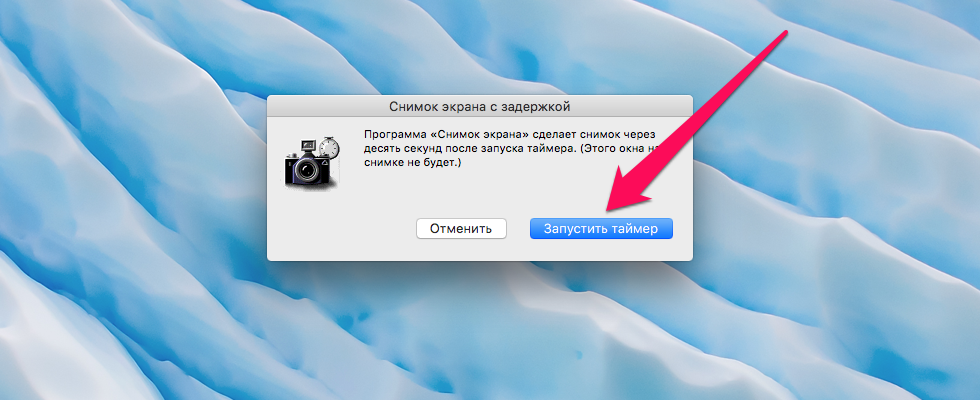 Ready! Immediately after that, a ten-second timer will start, at the end of which a screenshot will be taken. The window with the timer on the screenshot will not be imprinted, so especially worry about its location is not necessary. During the timer, you will be able to choose a window that will appear on the screenshot in the foreground.
See also:
Put 5 stars at the bottom of the article if you like the topic. How to take a screenshot on a delayed Mac
Leave a Reply